Improve Django’s Admin Interface Using Inlines
Improve Django’s Admin Interface using Inlines
Django Admin Customization
Django is an open-source python based web framework. It is designed to allow for rapid development of web applications by including much of the expected functionality right out of the box.
Django projects come prepackaged with a lot of convenient features. One prominent example of this is the built-in admin site. It offers users a way to add, remove, or edit the content of your apps by accessing the database with an easy to understand interface. The admin interface is also customizable in many ways. This post is going to focus on one such customization, something called inlines.
When two Django models share a foreign key relation, inlines can be used to expose the related model on the parent model page. This can be extremely useful for many applications. I have some code examples below to demonstrate, but there are numerous examples of real-world use cases in eCommerce, publishing, and more. Most recently, I used inlines in a professional setting to allow admin users to associate a single sign-on to a school organization in a large School Management System..
Inlines come in two main flavors - tabular and stacked. I will demonstrate each of them below. They mainly differ in terms of template layout and appearance.
Here is the models.py file for the Starfleet app. As you can see, there is a foreign key relation between the Officer class and the Ship class via the ship_assignment field.
from django.db import models

# Create your models here.

class Officer(models.Model):
    name = models.CharField(max_length=256)
    rank = models.ForeignKey('Rank', on_delete=models.CASCADE)
    ship_assignment = models.ForeignKey('Ship', on_delete=models.CASCADE, blank=True, null=True)

    def __str__(self):
        return self.name


class Rank(models.Model):
    name = models.CharField(max_length=256)

    def __str__(self):
        return self.name


class Ship(models.Model):
    name = models.CharField(max_length=256)
    registry = models.CharField(max_length=256)
    captain = models.OneToOneField('Officer', default=None, on_delete=models.CASCADE, blank=True, null=True)
    ship_class = models.CharField(max_length=256)
    status = models.CharField(max_length=256)

    def __str__(self):
        return self.name
And here is the admin.py file for the Starfleet app. This example is fairly straight forward - the resulting admin interface is displayed below.
from django.contrib import admin
from .models import Officer, Rank, Ship

class OfficerAdmin(admin.ModelAdmin):
    model = Officer
    list_display = ['name', 'rank']

class ShipAdmin(admin.ModelAdmin):
    model = Ship
    list_display = ['name', 'registry']

class RankAdmin(admin.ModelAdmin):
    model = Rank
    list_display = ['name']


# Register your models here.
admin.site.register(Officer, OfficerAdmin)
admin.site.register(Rank, RankAdmin)
admin.site.register(Ship, ShipAdmin)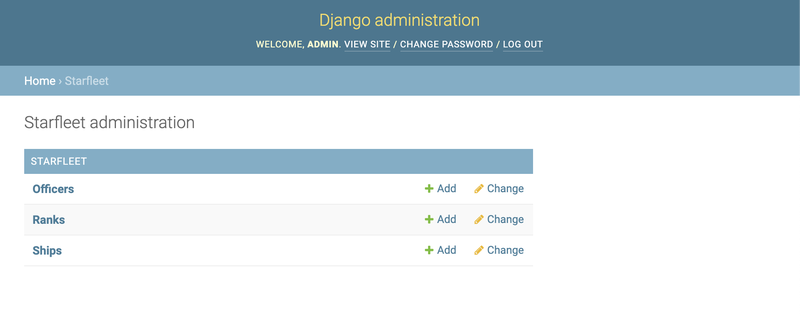
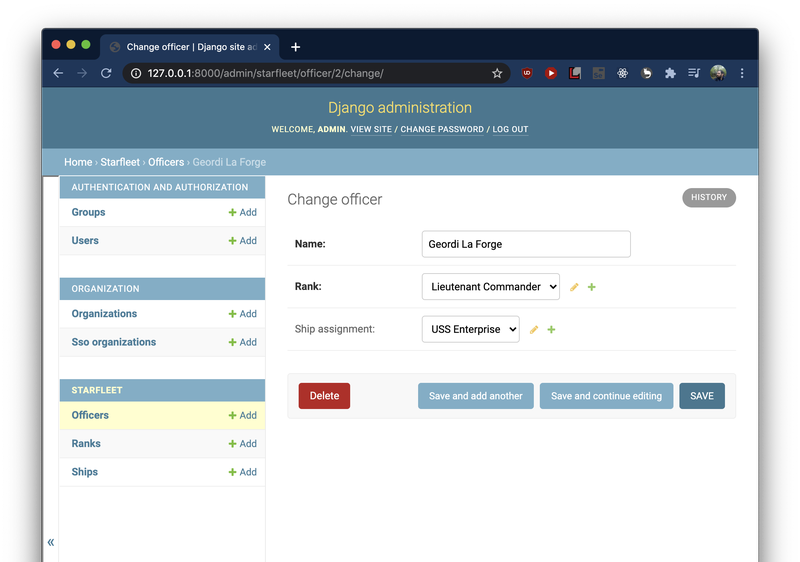
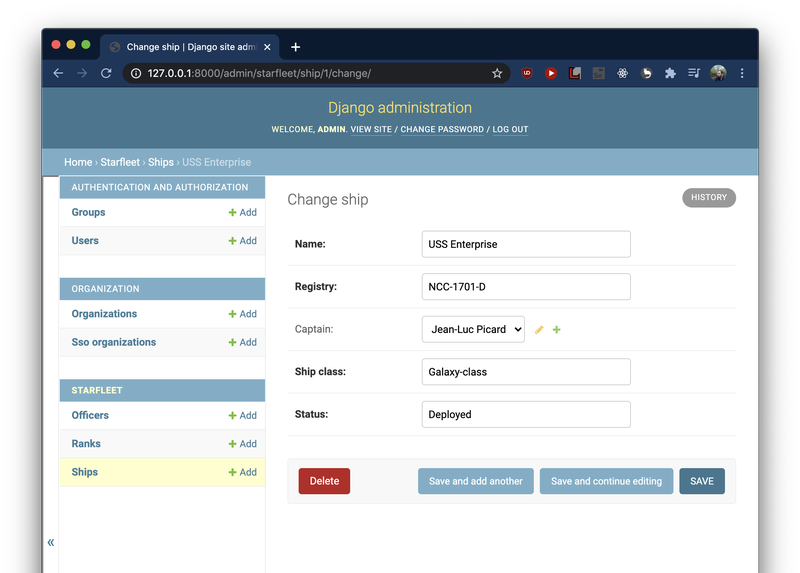
I won’t belabor the point by showing every admin screen, but instead I will skip to the Change or Detail screens for the two related classes.
Now by adding a Tabular Inline to the Ship class, it exposes the Officer model on the Ship model page, making it possible to add, remove or edit Officers directly from the model for the Ship to which they are assigned. Note that the OfficerTabularInline class references the Officer class in its declaration. It is also worth pointing out that in the ShipAdmin class, the inlines keyword argument requires either a tuple or a list.
from django.contrib import admin
from .models import Officer, Rank, Ship


class OfficerTabularInline(admin.TabularInline):
    model = Officer


class OfficerAdmin(admin.ModelAdmin):
    model = Officer
    list_display = ['name', 'rank']


class ShipAdmin(admin.ModelAdmin):
    inlines = [OfficerTabularInline]
    model = Ship
    list_display = ['name', 'registry']


class RankAdmin(admin.ModelAdmin):
    model = Rank
    list_display = ['name']

# Register your models here.
admin.site.register(Officer, OfficerAdmin)
admin.site.register(Rank, RankAdmin)
admin.site.register(Ship, ShipAdmin)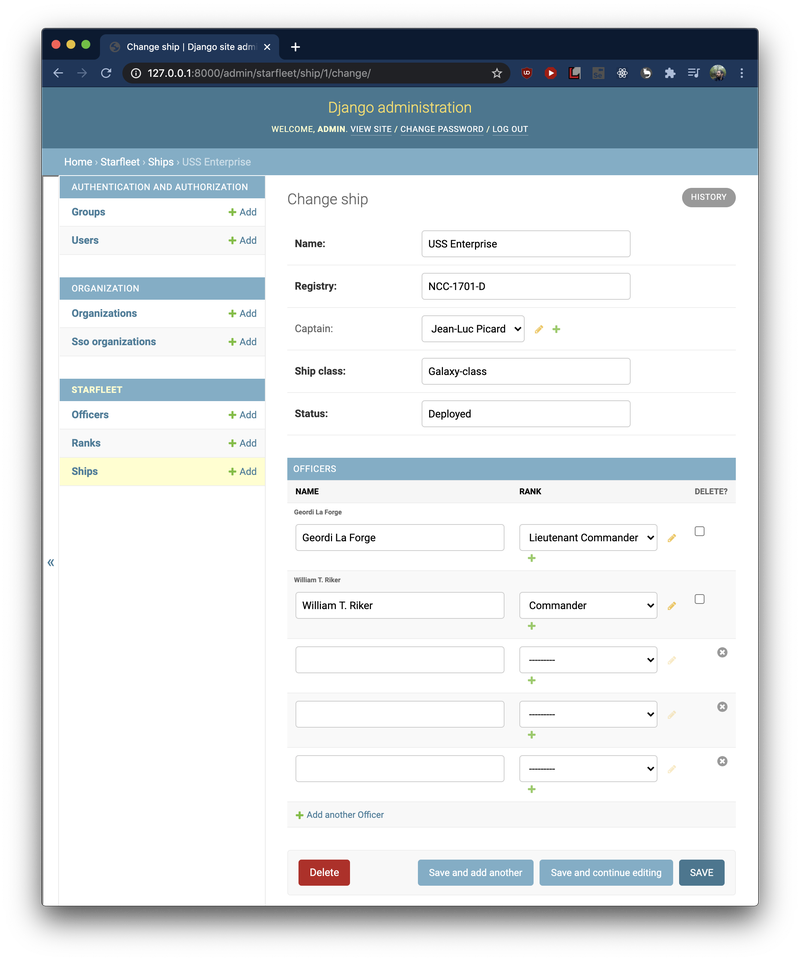
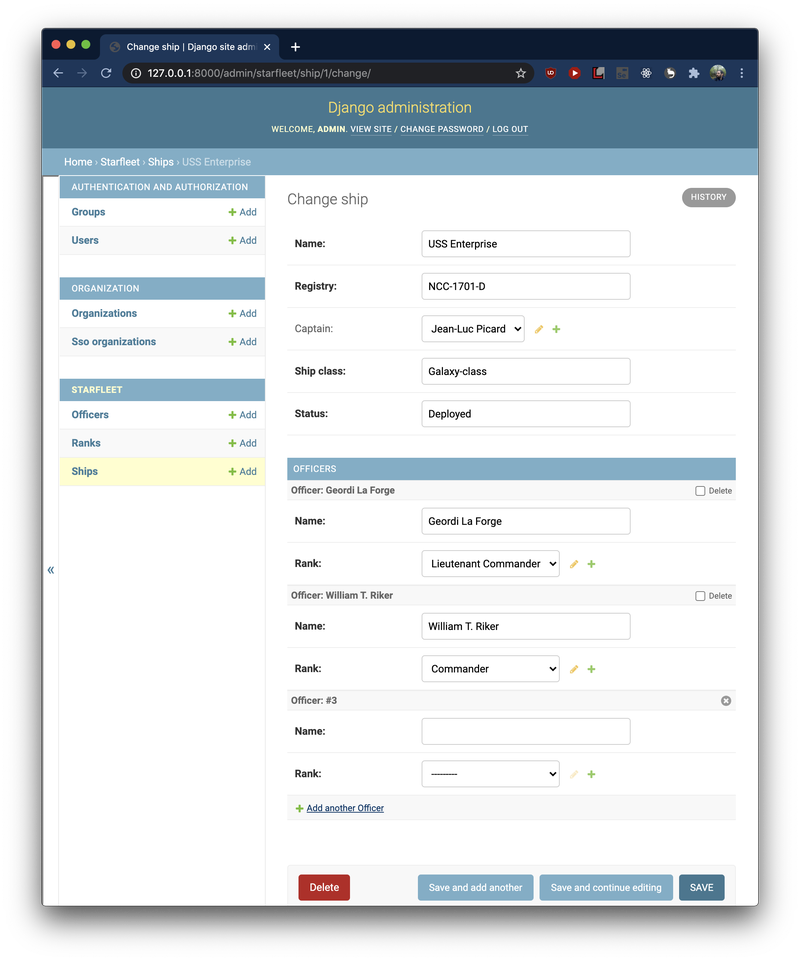
To change it to a Stacked Inline we just have to replace the references to Tabular Inlines in the admin.py file:
class OfficerStackedInline(admin.StackedInline):
    model = Officer

...

class ShipAdmin(admin.ModelAdmin):
    inlines = [OfficerStackedInline]
    model = Ship
    list_display = ['name', 'registry']
It is also possible to manage which fields are shown in the inline using the list_display and exclude keyword arguments in the inline class declaration.
The JBS Quick Launch Lab
Free Qualified Assessment
Quantify what it will take to implement your next big idea!
Our assessment session will deliver tangible timelines, costs, high-level requirements, and recommend architectures that will work best. Let JBS prove to you and your team why over 24 years of experience matters.


